Notice OLYMPUS C-350 ZOOM

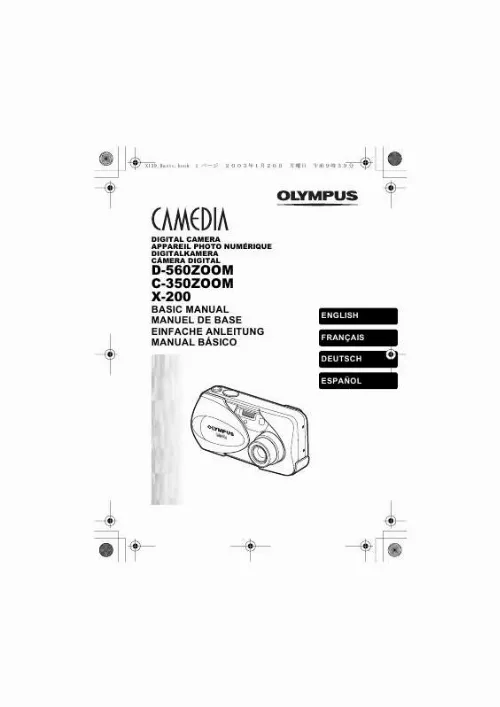

Extrait du mode d'emploi OLYMPUS C-350 ZOOM
Les instructions détaillées pour l'utilisation figurent dans le Guide de l'utilisateur.
Mode prise de vue (Vidéo) Permet de réaliser des vidéos. C'est affiché lorsque l'appareil photo est en mode de prise de vues fixe. (Vue fixe) Vous permet d'effectuer des prises de vues fixes. Cette méthode est simple ; il vous suffit d'appuyer sur le déclencheur. C'est affiché lorsque l'appareil photo est en mode vidéo. MODE RESET [MODE REINIT] Réglages de la remise à zéro complète, y compris la compensation d'exposition et la balance des blancs dans les valeurs par défaut. Quand le mode de prise de vues est réglé sur , ce menu revient au mode de (Vue fixe). Affiche toutes les images enregistrées l'une après l'autre. INFO Affiche toutes les informations de prise de vues sur l'écran ACL. Ces instructions sont uniquement destinées à une prise en main rapide. Mode prise de vue Sélectionne l'un des modes de prise de vues suivants (prise de vue unique) et (prise de vue en série). Permet la prise de vue à un grossissement supérieur à la valeur maximale du zoom optique. Permet de prendre des photos panoramiques avec des cartes de marque Olympus CAMEDIA. Fusionne deux photos prises à la suite et les enregistre comme une seule image. Onglet PICTURE [PHOTO] WB Règle la balance des blancs appropriée selon la (Balance des blancs) source de lumière. Onglet CARD [CARTE] CARD SETUP [CONFIG CARTE] Onglet SETUP [CONFIG] ALL RESET [TOUT REINIT] Détermine si les réglages actuels de l'appareil photo doivent être conservés ou non lorsque vous coupez l'alimentation. Détermine si les photos sont affichées ou non sur l'écran ACL pendant leur enregistrement sur une carte. Sélectionnez NTSC ou PAL suivant le type de signal vidéo de votre téléviseur. Fait pivoter les images de 90 degrés soit dans le sens des aiguilles d'une montre, soit dans le sens inverse. Crée une photo en noir et blanc et l'enregistre dans un nouveau fichier. Crée une photo en teinte sépia et l'enregistre dans un nouveau fichier. Diminue la taille du fichier et l'enregistre sous un nouveau nom. Crée une image index d'une vidéo en 9 vues fixes. Détermine si les réglages actuels de l'appareil photo doivent être conservés ou non lorsque vous coupez l'alimentation. Sélectionnez NTSC ou PAL suivant le type de signal vidéo de votre téléviseur. Mode de prise de vue Cet appareil photo vous permet de faire des prises de vues fixes et d'enregistrer des vidéos. [...] La carte est éjectée sur une courte distance puis s'arrête. Tenez la carte droite et sortez-la. Remarque Si vous retirez votre doigt rapidement après avoir enfoncé la carte à fond, elle risque d'être propulsée brutalement hors de son logement. Lors de la prise de vue (Mode prise de vue) Mise sous tension: Ouvrez complètement le capot de protection d'objectif. L'appareil photo passe en mode de prise de vues et l'objectif se déploie. Si l'objectif ne sort pas lors de l'ouverture du capot de protection, il est possible que celui-ci ne soit pas complètement ouvert. Ouvrez le capot de protection jusqu'à ce qu'il se bloque avec un déclic. Fermez le capot de protection d'objectif doucement jusqu'à ce qu'il touche presque l'objectif. Le capot de protection de l'objectif s'arrête juste avant de toucher l'objectif et ce dernier se rétracte. Attendez que l'objectif soit complètement rentré avant de fermer complètement le capot de protection d'objectif. Ne forcez pas la fermeture du capot de protection d'objectif lorsque l'objectif est sorti, vous risqueriez de l'endommager. Lors de l'affichage de photos (Mode affichage) mise sous tension : Appuyez sur (Affichage) tandis que le capot de protection d'objectif est fermé. L'appareil photo se met en marche en mode affichage. Des touches fléchées pour sélectionner pour sélectionner l'onglet SETUP, et Pour sélectionner une langue, et Des touches fléchées pour sélectionner pour sélectionner l'onglet SETUP, et Appuyez sur pour régler l'année, et appuyez sur pour passer au réglage du mois. Les deux premiers chiffres de l'année sont fixes. Répétez cette procédure jusqu'à ce que la date et l'heure soient complètement réglées. Pour un réglage plus précis, appuyez sur lorsque l'horloge franchit 00 seconde. La date et l'heure réglées seront annulées si vous laissez l'appareil Photo sans piles pendant 30 minutes. Lorsque vous mettez l'appareil photo sous tension et que vous appuyez sur , le menu principal s'affiche à l'écran ACL. c'est à partir des menus que vous réglez chacune des fonctions de l'appareil photo. Ce chapitre explique le fonctionnement des menus, à partir des écrans du mode de prise de vue. Vous amène directement aux écrans de réglage. � Affiche les touches à utiliser au bas de l'écran. [...]..
Téléchargez votre notice ! Téléchargement gratuit et sans inscription de tous types de documents pour mieux utiliser votre appareil photo OLYMPUS C-350 ZOOM : mode d'emploi, notice d'utilisation, manuel d'instruction. Cette notice a été ajoutée le Mardi 8 Aout 2010. Si vous n'êtes pas certain de votre références, vous pouvez retrouvez toutes les autres notices pour la catégorie Appareil photo Olympus.
Vous pouvez télécharger les notices suivantes connexes à ce produit :
 OLYMPUS C-350 ZOOM QUICK START GUIDE (981 ko)
Vos avis sur le OLYMPUS C-350 ZOOM
 Trã¨s bon appareil, belle apareil a petit prix . Bon appareil , facile d'utisation bonnes photos, appareil ancien mais encore performant. Tres facile d'utilisation, j'ai pas vraiment aimé cette appareil . J'arrive pas à allumer l'appareil :p, bon produit, bon apppareil, c est un tres bon produit
Peut mieux faire, bon appareil. Bon appareil, bon appareil, bon appareil, facile d'emploi, même s'il commence à être obsolète actuellement (2012). Bon appareil - zoom integre ideal, très bon appareil mais assez long. Excellent appareil je le recommande, très bien.
